Headshot anxiety is a real thing.
Uggh, getting photos taken can feel stressful.
I usually work with no-fuss people who are happier working behind the scenes than being in photos. But sometimes they really need a headshot taken and it stresses them out.
Here’s how to look like a really great version of yourself in your headshots, whether they’re done at home or by a professional.
The short story: the colours you wear and the lighting make all the difference. (Oh, and don’t forget to comb your hair.)

My client in the photos shown here wanted to do a trial run at home before she had photos taken by a pro. She wasn’t sure what to wear or how to pose.
She wanted pix that said: ‘professional creative’.
I’d already done a colour consult and draped her with a range of different colours to work out that she looks good in cooler, darkish colours. She'd be a 'Winter' in the old 4 season system. She fits into the 'Elegant' scheme in the 18 palette system I use.
Wear a flattering colour close to your face
I used a deep pink scarf because we’d already worked out that it made her skin look good.
Her blue-toned spectacle frames did great things for her blue eyes and added to the professional vibe.
I’d have preferred her in a dark blue top, rather than black, as I reckon the black looks heavy.

Not sure what colour suits you?
Experiment.
Not sure what colours suit you?
Raid your partner’s or friend’s wardrobes to get a variety of solid shades to try on – get some bright, some dull, some light, some dark. It’s easiest to compare different versions of one colour, like blues, rather than picking a rainbow of colours. Grab curtains, cushions, scarves or any kind of clothing in solid colours (no patterns).
One at a time, drape each different coloured item around your neck like a scarf and take a selfie.
Try to use natural lighting and take all the photos in the same spot - e.g. near a window so you’re clearly lit, but not squinting into bright sunshine.
Look at the photos – or make a party of it and get a friend to look with you – and notice which ones make you look sick or tired. Well done! These are your ‘colours to avoid’.
You can see in the Before photo of my client above that she should avoid this warmer terracotta red with its yellowy-brown undertones. In fact she should avoid all warm reds and pinks and instead go for clearer pinks and reds with a blue undertone.
Your best colours are the ones that make us see you, not the colour. They’ll make your eyes, skin, hair and mouth look bright and clear.
Found at least one great colour for you? Use it right now and do an experimental headshot. Twist or drape the fabric so it sits under your chin like a scarf or top and take some photos.
Keep an eye out for other things in this fab colour next time you’re at an op shop.
Take lots of photos
If you feel weird about being in photos, and you weren’t born in a selfie-taking generation, I encourage you to mess around one day using your phone’s camera. Get yourself in front of a window and take a bunch of photos. You can delete them.
If you’re the photographer for a friend, get them talking and laughing or even making silly faces – you’ll usually get a great shot when they relax.
Disclaimer: yes, I realise the first photo looks orangey, so they’re not a direct comparison
I’m sorry you can’t directly compare the before and after shots because, even though they were taken in the same location, my camera apparently auto corrected the first shot, giving it an orangey cast (darn it). You can see that because the backdrop colour is different in the Before photo compared with the After photo.
I didn’t apply any filters or editing to the second photo – so, you’re seeing a more flattering photo that’s the result of:
better colours worn near her face
a little bit of makeup
better lighting, thanks to someone holding a sheet off to one side to bounce more light in
a more confident pose.
Have a go
There’s no way around this: you’ll need to have a crack at this yourself. Grab your phone and turn on the camera. Stand near a window. Snap some pix. I hope you get some photos where you say, ‘Ah, that looks like me.’
Remember, crappy photos are just crappy photos – we’re not crappy people just because the camera records a strange angle.
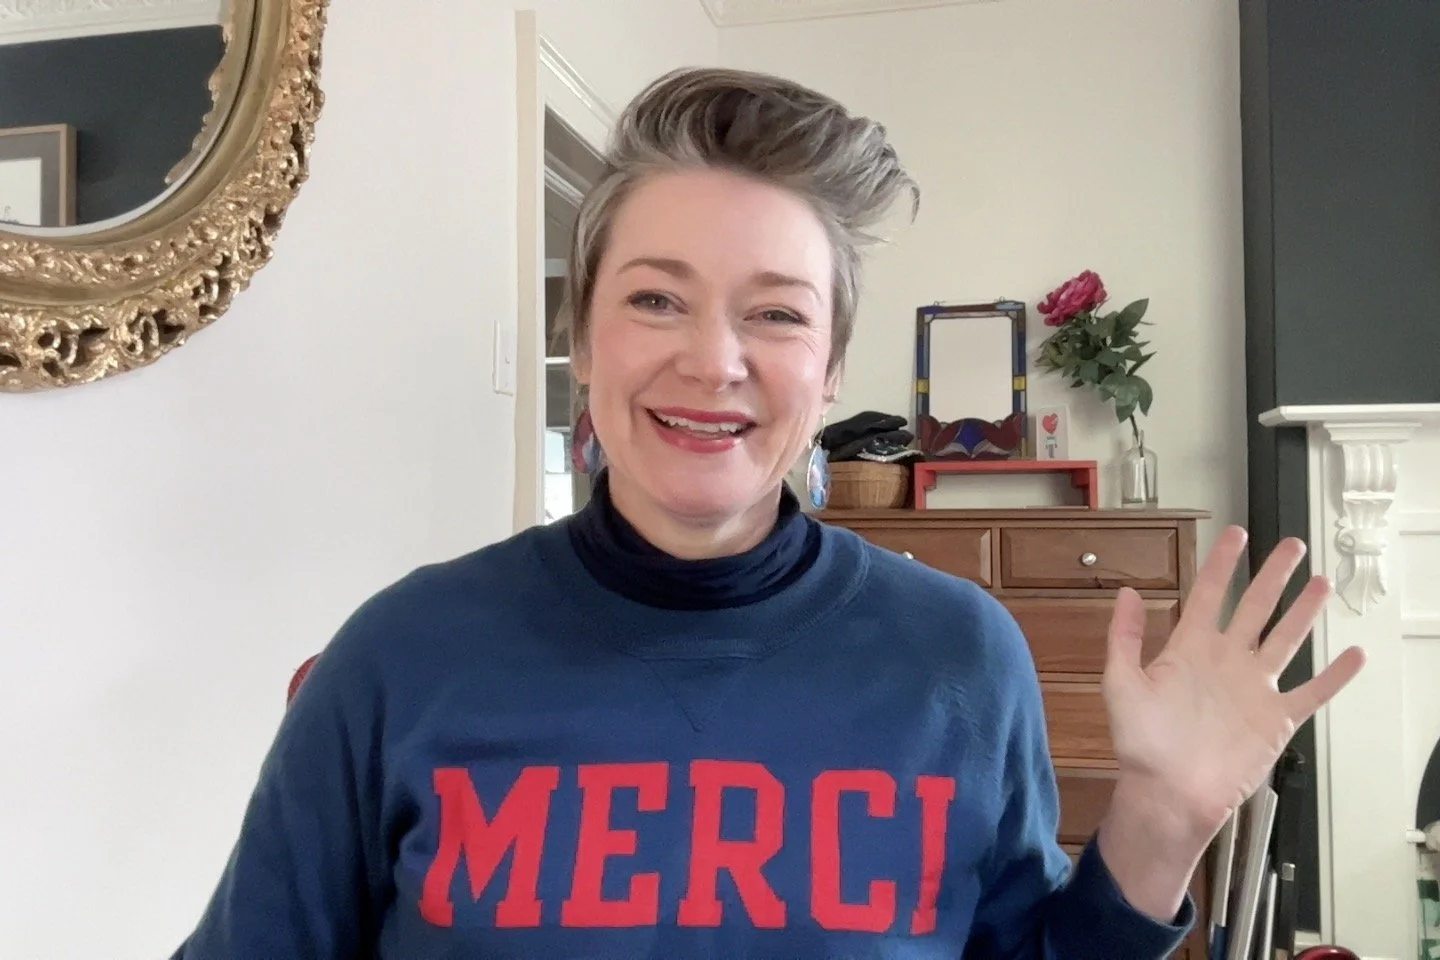
Speaking of which, Hi! Here’s a photo I took at my desk using my webcam and a few lamps in front of me. I don’t loooove being in photos, but I’ve had some professional shots done in the past, which taught me a few things (such as: check your collar isn’t turned up on one side and your hair isn’t sticking out weirdly – not all photographers notice that, unfortunately).
Lately I’ve started taking more selfies and sometimes even sharing them. It only seems fair when I’m usually encouraging clients to have a go. Also, I’ll never be this age again, so I may as well have some photos to remind me.
I hope you enjoy having a go. Or, if not ‘enjoying’, at least learning how to get a better photo of your head for the times in life you’ll need one.
Merci!